This is at the front, in the luton hangover bit. The board in the bottom of the hangover is loft board I put in on plastic wrapped laths to keep my matress off the damp. I needed a quick fix so that I could live in it for a few months.
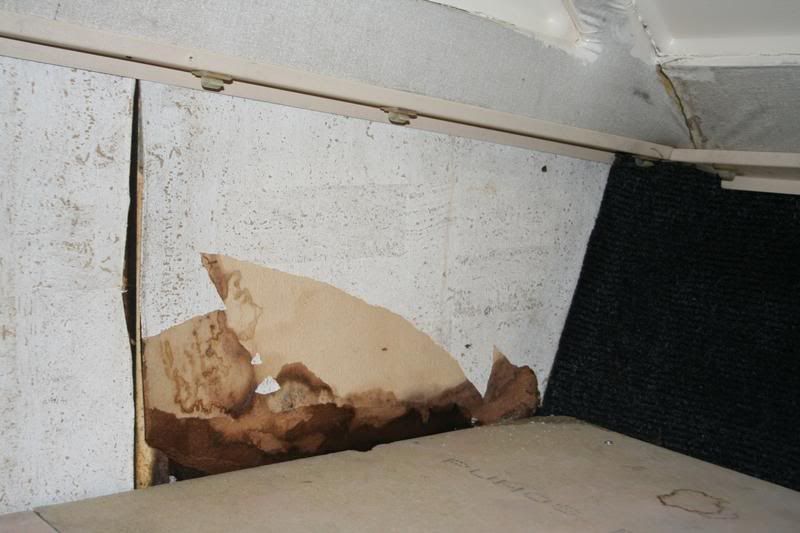
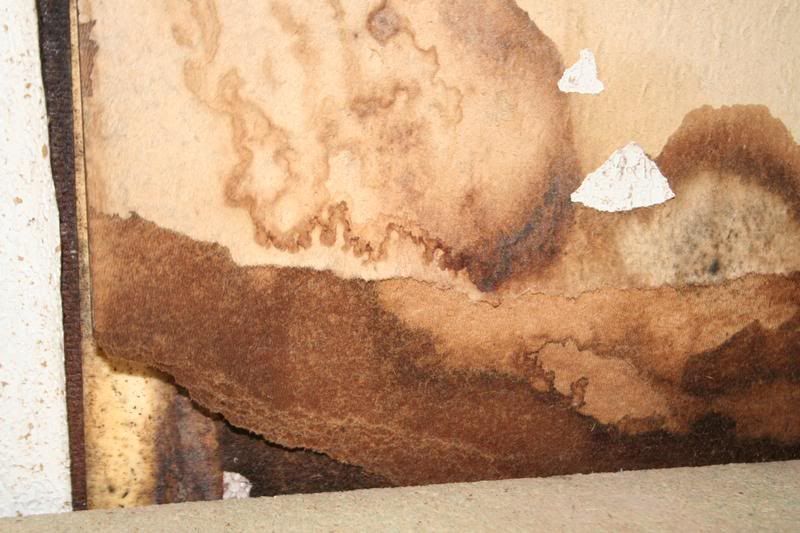
The wooden laths in the wall are entirely rotten and will have to be replaced. As will the hardboard wall and the floor of the hangover.
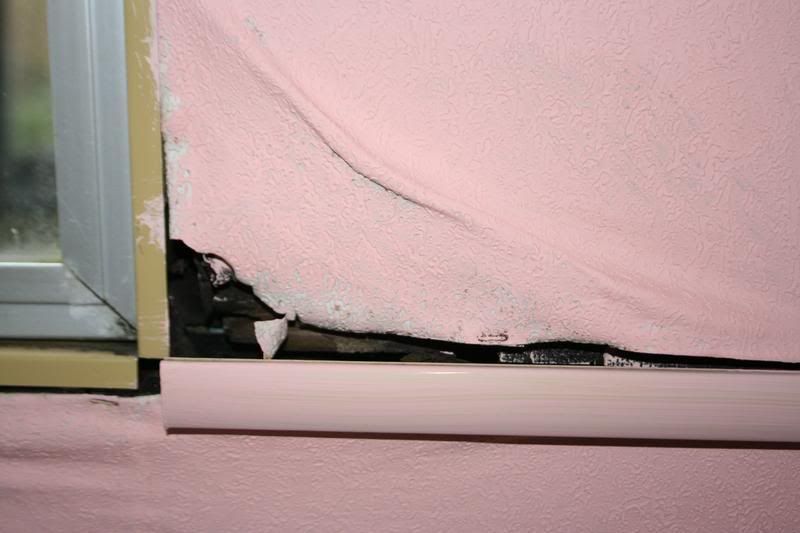
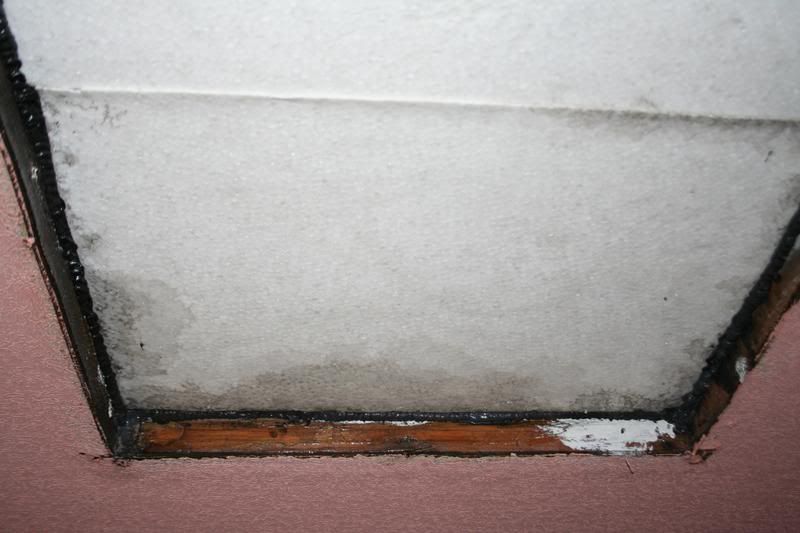
More damage around the side window.
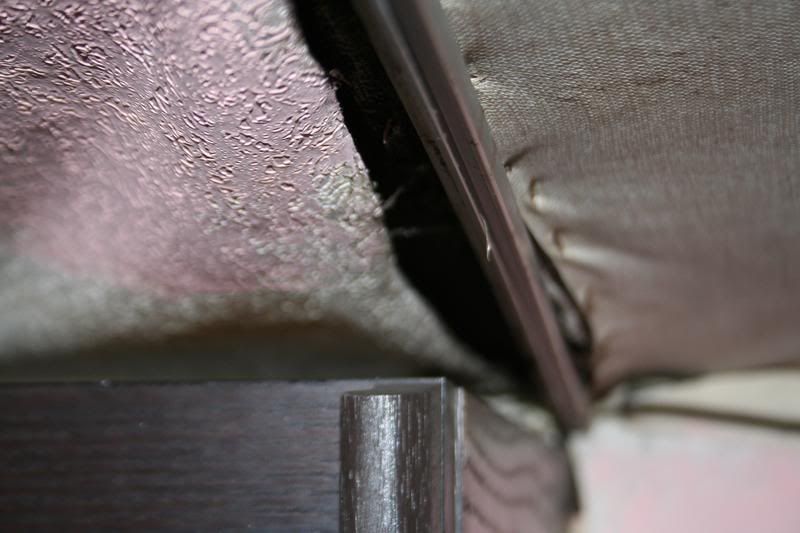
And more where the TV aerial came through the ceiling. I've removed it and sealed the holes.
The god-awful pink on the walls was disasterous attempt #2 at decorating the inside. Magnolia next, <sigh>.
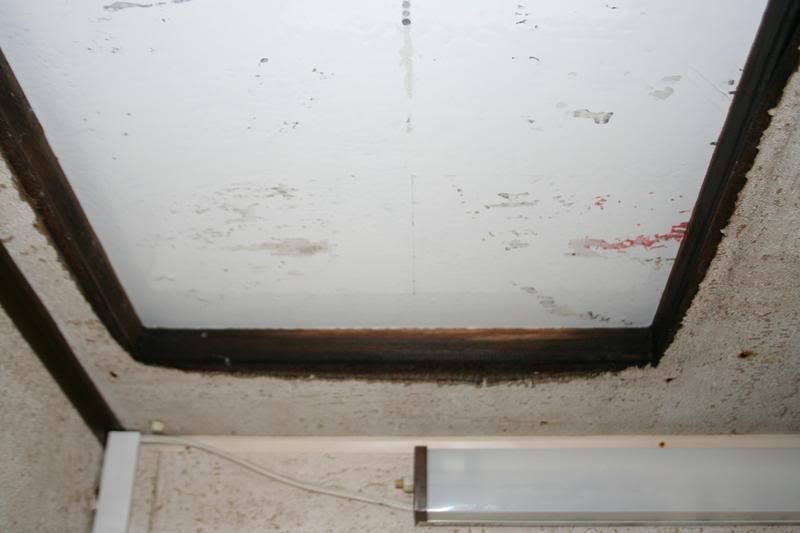
I blocked off the skylights as I never use them and their main function seems to be to provide an easy route for water to get down the back of my neck. I riveted steel plate (couldn't find aluminium plate) over the openings and sealed the edges from the outside with flash band. You have to heat the flash band to get the tar on the back of the tape to melt and stick. I used a hairdryer to heat the flashband on this one and it leaks
I glued warmaline (polystyrene sheet) to the inside of the plate, thinking that this would deny a cold surface on which condensation could occur. I'm not sure if it's working because of the leak. I also painted both sides of the plates with hammerite and ran an outdoor silicone sealant around the inside.
I used an iron for this one, and it doesn't leak
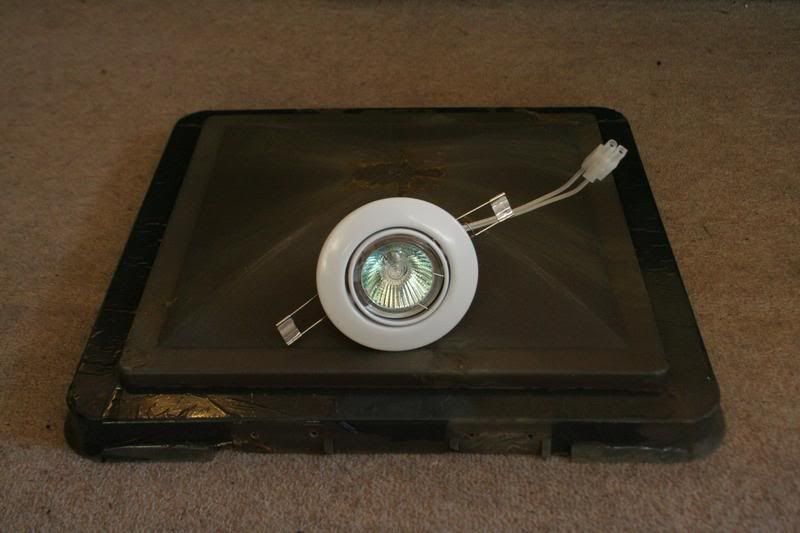
I'm planning to mount lights into the skylight recesses. Clearance for the light fittings is a problem. I have an idea to use the skylight top, inverted and painted, as a base to mount the lights into. They're ideal as they have a sort of pyramid top, which tilts the lights and gives the required clearance. The sticking point with this is that I haven't yet figured out how to cut the bottom off the skylight and end up with a nice tidy edge. Maybe a skateboard and a laser...?
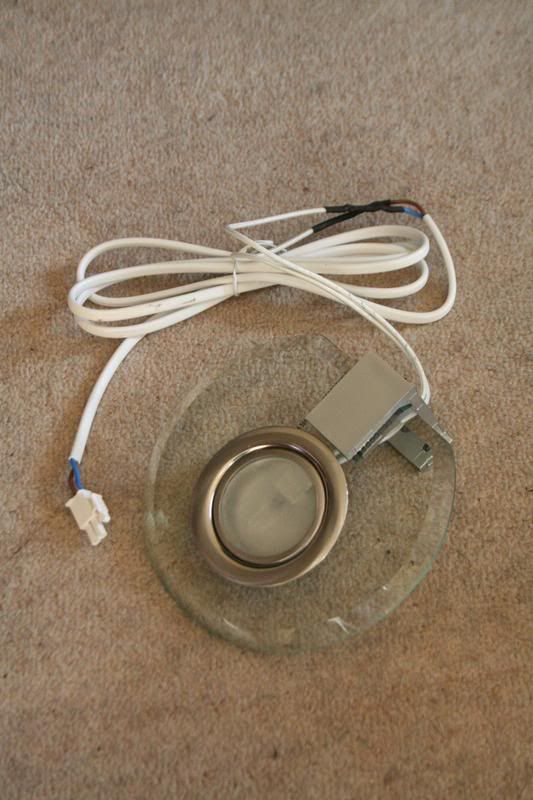
I've found that because the existing lights are mounted under the cupboards, when I try to look into a cupboard at night, I have a bulb in my eyes and no light is thrown into the cupboards themselves... useless.
I found these ceiling mount halogens which I plan to install above and just in front of the cupboards to resolve this. And aren't they nice
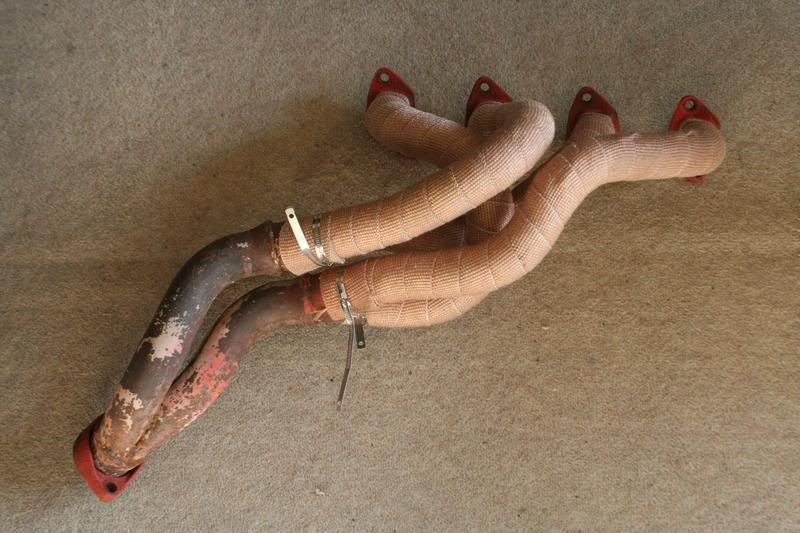
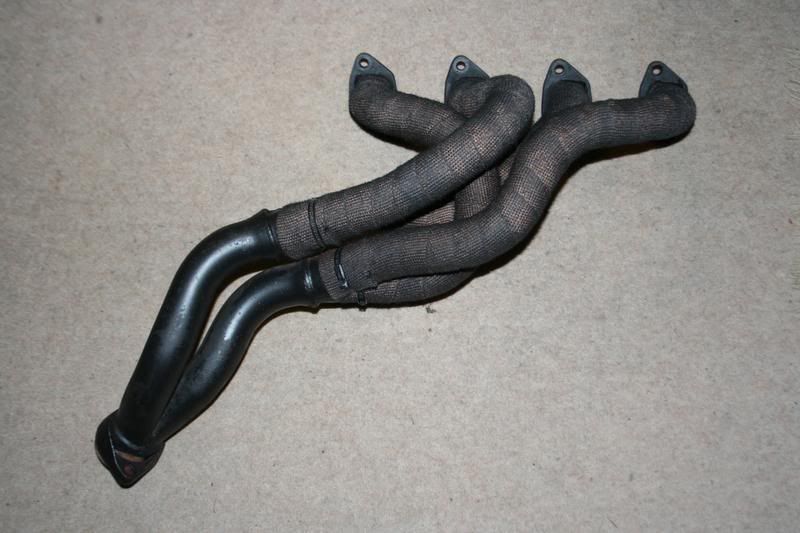
I used "very high temperature" paint on my branch manifold... forgetting that the Kurust I had used as a primer was not designed for high temperatures. The paint has mostly baked off and while this was going on I also noticed high temperatures under the bonnet. After a little mooching around ebay I found Thermo-Tec bandage and have done the primaries on the branch. However the instructions say that for motorhomes the rest of the manifold must not be covered. Unfortunately I have oil pipes next to that part and the pipes also run very close to the floor of the cab, close enough that after a while I can feel the heat through my accelerator foot. I've written to Thermo-Tec to ask for more details on this advice so that I can make an informed decision about whether or not to bandage the rest of the manifold.